Introduction
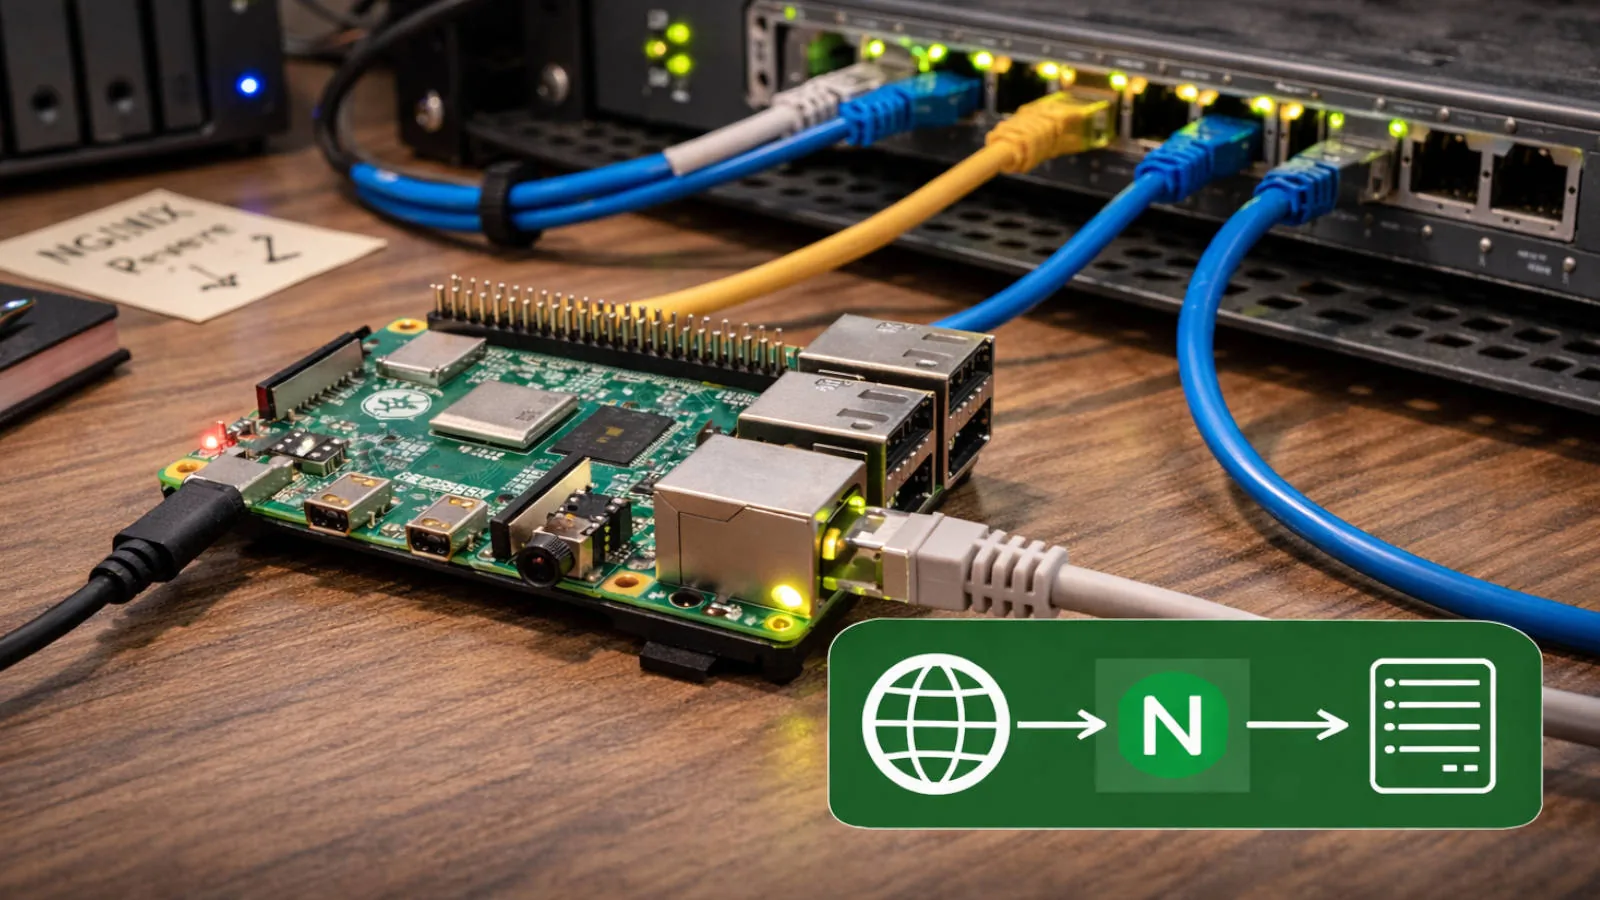
Repurposing a Raspberry Pi 4 as a Dedicated Nginx Reverse Proxy.
At some point I realized my old Raspberry Pi 4 was doing absolutely nothing useful.
So I gave it a single job.
It now runs only two things.
- Nginx.
- Certbot
That's it.
No Docker.
No Kubernetes.
No monitoring stack.
No experiments.
Just one responsibility: terminate TLS and route traffic internally.
And it has been doing that quietly ever since.
Why This Setup Exists
I wanted a stable internet-facing boundary that did not change every time I rebuilt something in my homelab.
My K3s cluster changes. Services move. Nodes get restarted. Internal ports come and go.
The public entry point should not care.
This Pi gives me a fixed, predictable edge:
- One machine exposed to the internet
- One place for TLS certificates
- One place for domain routing and redirects
- One place to add basic security controls and logging
In this post I walk through the traffic flow, the Nginx layout, and the hardening choices that made this setup reliable without turning it into a project of its own.
The Hardware
This is a standard Raspberry Pi 4 connected over Ethernet, sitting on a shelf in my network cabinet.
It has:
- A static internal IP
- Port 80 and 443 forwarded to it
- A minimal Debian-based install
- Automatic certificate renewal via Certbot
It is the only machine in my home network directly reachable from the internet.
Everything else stays private.
How Traffic Flows
The setup is intentionally boring.
All my domains point to my public static IP address.
On the router, I forward:
- TCP 80 -> the Pi
- TCP 443 -> the Pi
When a request arrives, Nginx:
- Handles the ACME challenge if needed
- Redirects HTTP to HTTPS
- Terminates TLS
- Proxies the request to the correct internal service
The internal services live on different machines, including my K3s cluster nodes. They are not exposed to the internet. They don't handle certificates. They just speak plain HTTP on the LAN.
The Pi is the only entry point.
I like clear boundaries.
Per-Domain Configuration
Each domain has its own file under:
/etc/nginx/sites-enabled/
That keeps things isolated. If something breaks, it breaks per domain. Not globally.
Here is the upstream configuration for my website:
upstream seyvecou_proxy {
server 192.168.0.x; # MetalLB service IP
keepalive 64;
}
The x is intentional. It represents the internal MetalLB service IP on my LAN.
In earlier iterations I balanced traffic directly across individual Kubernetes nodes. Today I proxy to a single MetalLB service IP and let Kubernetes handle the internal distribution.
That keeps the edge simple.
No public ingress controller exposed externally. No NodePort accessible from the internet.
Just Nginx forwarding traffic to one internal service endpoint, and Kubernetes taking care of the rest.
The keepalive 64; ensures upstream connections are reused instead of re-established for every request. Small detail. Small performance gain. Zero complexity.
HTTP to HTTPS and ACME
The HTTP block is intentionally minimal:
server {
listen 80;
server_name www.seyvecou.com;
location ^~ /.well-known/acme-challenge/ {
default_type "text/plain";
root /var/www/letsencrypt;
try_files $uri =404;
}
location / {
return 301 https://$host$request_uri;
}
}
Everything is redirected to HTTPS except the ACME challenge path.
Certbot drops validation files into /var/www/letsencrypt, Nginx serves them, Let's Encrypt validates ownership, and certificates renew automatically.
No downtime. No manual work.
How I Run Certbot (and Why This Works)
When I want to issue or force-renew a certificate manually, I use certbot in certonly mode so it only manages the certificate files and leaves my Nginx config alone.
Your shortened command can look like this:
sudo certbot certonly \
--force-renewal \
-d www.seyvecou.com \
-d seyvecou.com
In practice, the important part for this Nginx setup is the webroot challenge path. I usually make that explicit:
sudo certbot certonly \
--webroot \
-w /var/www/letsencrypt \
--force-renewal \
-d www.seyvecou.com \
-d seyvecou.com
What happens during validation:
- Certbot creates a temporary challenge file under
/var/www/letsencrypt/.well-known/acme-challenge/ - Let's Encrypt requests
http://www.seyvecou.com/.well-known/acme-challenge/<token> - Nginx matches the
location ^~ /.well-known/acme-challenge/block first, so it does not redirect that request to HTTPS - The
root /var/www/letsencrypt;directive maps the request path to the file Certbot created try_files $uri =404;ensures only real challenge files are served
That is the key interaction: the ACME path is explicitly carved out from the HTTP->HTTPS redirect so certificate validation can succeed.
I also enforce a canonical redirect from seyvecou.com to www.seyvecou.com to avoid split traffic and duplicate certificates.
The certificate is generated for both the apex domain and the www subdomain, avoiding browser warnings caused by certificate mismatches.
It keeps things clean.
TLS Termination
TLS is handled entirely by the Pi:
server {
listen 443 ssl;
server_name www.seyvecou.com;
ssl_certificate /etc/letsencrypt/live/www.seyvecou.com/fullchain.pem;
ssl_certificate_key /etc/letsencrypt/live/www.seyvecou.com/privkey.pem;
}
Internal services never see certificates. They never negotiate ciphers. They never care about ACME.
They just receive HTTP from a trusted machine inside the LAN.
Separation of concerns is underrated.
Proxying Requests
The actual proxy configuration is straightforward:
location / {
proxy_pass http://seyvecou_proxy;
proxy_set_header Host $host;
proxy_set_header X-Real-IP $remote_addr;
proxy_set_header X-Forwarded-For $proxy_add_x_forwarded_for;
proxy_set_header X-Forwarded-Proto $scheme;
proxy_set_header X-Forwarded-Host $host;
proxy_set_header X-Forwarded-Port $server_port;
}
The original Host header is preserved.
The real client IP is forwarded.
This means the setup works not only for static sites, but also for APIs, and real-time systems without extra configuration.
WebSockets require forwarding the Upgrade and Connection headers explicitly.
Security Hardening
A reverse proxy exposed to the internet should not be "default config and vibes".
Modern configurations should restrict TLS to 1.2 and 1.3 only:
ssl_protocols TLSv1.2 TLSv1.3;
Enabling HTTP/2 improves performance with no downside:
listen 443 ssl http2;
Adding HSTS prevents protocol downgrade attacks:
add_header Strict-Transport-Security "max-age=31536000; includeSubDomains; preload" always;
On the host itself:
- Disable password SSH login
- Use key-based authentication only
- Enable a firewall allowing only 22, 80 and 443
- Remove any unnecessary services
Basic rate limiting can also reduce noise from trivial abuse:
limit_req_zone $binary_remote_addr zone=one:10m rate=10r/s;
server {
...
limit_req zone=one burst=20 nodelay;
}
It is not a full WAF. But it filters obvious traffic spikes and simple brute-force attempts.
Finally, logging matters.
The reverse proxy sees everything. Structured access logs shipped to a central system turn this machine into your perimeter telemetry layer.
Why I Keep This Outside Kubernetes
Failure domains matter.
If my Kubernetes cluster restarts or misbehaves, the TLS entry point remains stable.
Certificates renew independently. DNS remains valid. The boundary stays intact.
If the proxy fails, internal services are unaffected.
That separation simplifies debugging dramatically.
It also means I can wipe and reinstall the Pi in under 15 minutes without touching the rest of the infrastructure.
Closing Thoughts
This Raspberry Pi 4 uses almost no resources.
It sits there quietly, terminating TLS for everything I host.
For a board that was previously collecting dust, that feels like a decent promotion.